01. Choose a source worth keeping
Use a clear source image and keep an untouched local copy. A color edit is easier to review when the object’s shape, placement and lighting already work. If the whole composition is unsuitable, write a new generation brief first.
Switch the studio to Edit and upload a JPEG, PNG or WebP within the limit shown by the uploader. You upload a file, rather than supplying an arbitrary image URL. Choose images you are entitled to edit and avoid uploading personal information you do not need for the task.
02. Name the target and one change
Write an instruction that identifies the object and the property to change. “Change the knit upper to slate blue” is easier to check than “make it more stylish.” One change per round is a useful review habit: it keeps the cause of an unexpected result visible.
Add preservation instructions for features that matter to your brief. Specify the shoe’s shape, sole, laces, camera angle and background instead of relying on an unspecified “same image.” These are requested constraints; inspect the response before accepting them as satisfied.
A focused color-edit instruction
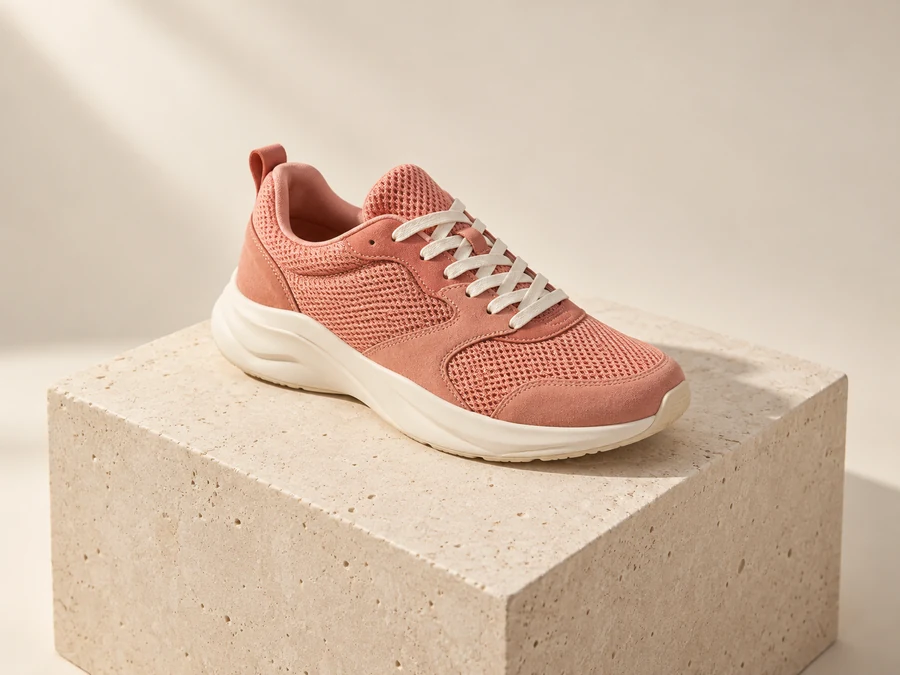
Edit instruction · Upload your own source imageChange only the coral knit and suede upper of the running shoe to sage green. Keep the exact shoe shape, cream sole, laces, stitching, position, camera angle, background and lighting unchanged.
03. Understand what the endpoint does
This studio calls fal.ai’s ideogram/v4.5/edit with high edit precision and an uploaded image. High precision uses Ideogram Precise Edit to restore unchanged pixels; the auto size option preserves source geometry, with provider downscaling when needed.
The provider also documents masks and reference images. Those controls are outside this studio’s current interface. A preservation sentence is useful guidance, but it is not a geometric mask. For a tightly bounded production edit, consult the official API reference and check the final pixels.
04. Review both the change and the rest
Use the actual uploaded source and returned result in the studio comparison. Inspect the requested area first, then unchanged features such as boundaries, logos, cast shadows and texture. Zoom in locally for a production decision; a small preview can hide defects.
The homepage’s comparison is an illustrative lesson, not a measured model benchmark. It explains a narrow editing intention. Your own before-and-after pair is the evidence for whether your specific request succeeded.
- Did the intended color, material or wording change?
- Did the camera angle and object silhouette stay usable?
- Does the result have unexpected text, edges or texture?
05. Keep a checkpoint for every useful edit
Download a result you accept before beginning another edit. Use that downloaded file as the next source and keep the previous version. If a later step fails, return to the last useful checkpoint instead of trying to describe how to undo several changes at once.
For a second step, change the backdrop while explicitly protecting the accepted product. Keep a short edit log: source filename, instruction and result filename. This makes a sequence reproducible as a workflow even when a fresh model request differs.
The next edit, after saving a checkpoint
Edit instruction · Upload your own source imageChange only the backdrop to a soft pale-lilac studio background. Keep the sage-green shoe, knit texture, cream sole, placement and camera angle unchanged. Preserve the existing direction of light and a natural contact shadow.